All the hard parts are done. We are so close to the end, I can smell the coffee.
Ran out of peppermint patty creamer, by the way.
Take the two top panels and lay them right sides together, matching the correct sides.
One long edge is straight and the other curves out at the ends.
We are working with the straight edge.
Measure 1" from each end on the straight side.
(Measure 2" from each end if you are using a 22" zipper)
 .
.
Pin the panels together along the long straight side.

Sew from the end to your mark with 1/2 seam allowance. Backstitch at the mark.
Change your stitch length to the longest. Baste the panels together until you reach
the other mark. Change stitch length to regular (2.5 ish), backstitch and finish sewing to the end.

Press your seam open.

With the wrong side of the top panels up, place your zipper face down.
Zip the zipper up. The top of the zipper pull needs to be even with the 1" mark (or 2")
you made when you sewed the panels together.

With the zipper teeth aligned with the seam, pin your zipper down.
You can glue and pin the zipper if you'd like.

Sew each side of the zipper 1/4" away from the zipper teeth. You may
need to move the zipper pull a few times while sewing.

After sewing.

Turn the top panel over.

Find where you stitches change to the basting stitch (those stitches will be farther apart).

Remove about an inch of basting stitches. DON'T rip the 1" of regular stitching!

Move to the other end of the top panel. Find where your basting stitches start.
Insert your seam ripper at the beginning of your basting stitches. Slide the seam ripper across the top until you reach the point where you already removed some of the basting stitches.
(I do this so you don't accidentally rip your regular stitches. You only make that mistake once!)
Zipper is done! Set aside for a moment.

Grab the bottom exterior panel.
Fold each short end in half, marking the center.

Take one of your connector pieces (with the D-ring attached).
Pin the connector on the center mark, matching raw edges. Repeat for other end of the bottom piece.

Hope you didn't put the top panel far away. We need it again.
Right sides together, place one top panel end with one bottom panel end.

Sew the two pieces together, following the piping stitching.

Open the seam up and press the seam towards the bottom panel. Stitch the seam allowance down just below the piping, on the bottom panel.
Repeat with the other ends of the top and bottom panels.

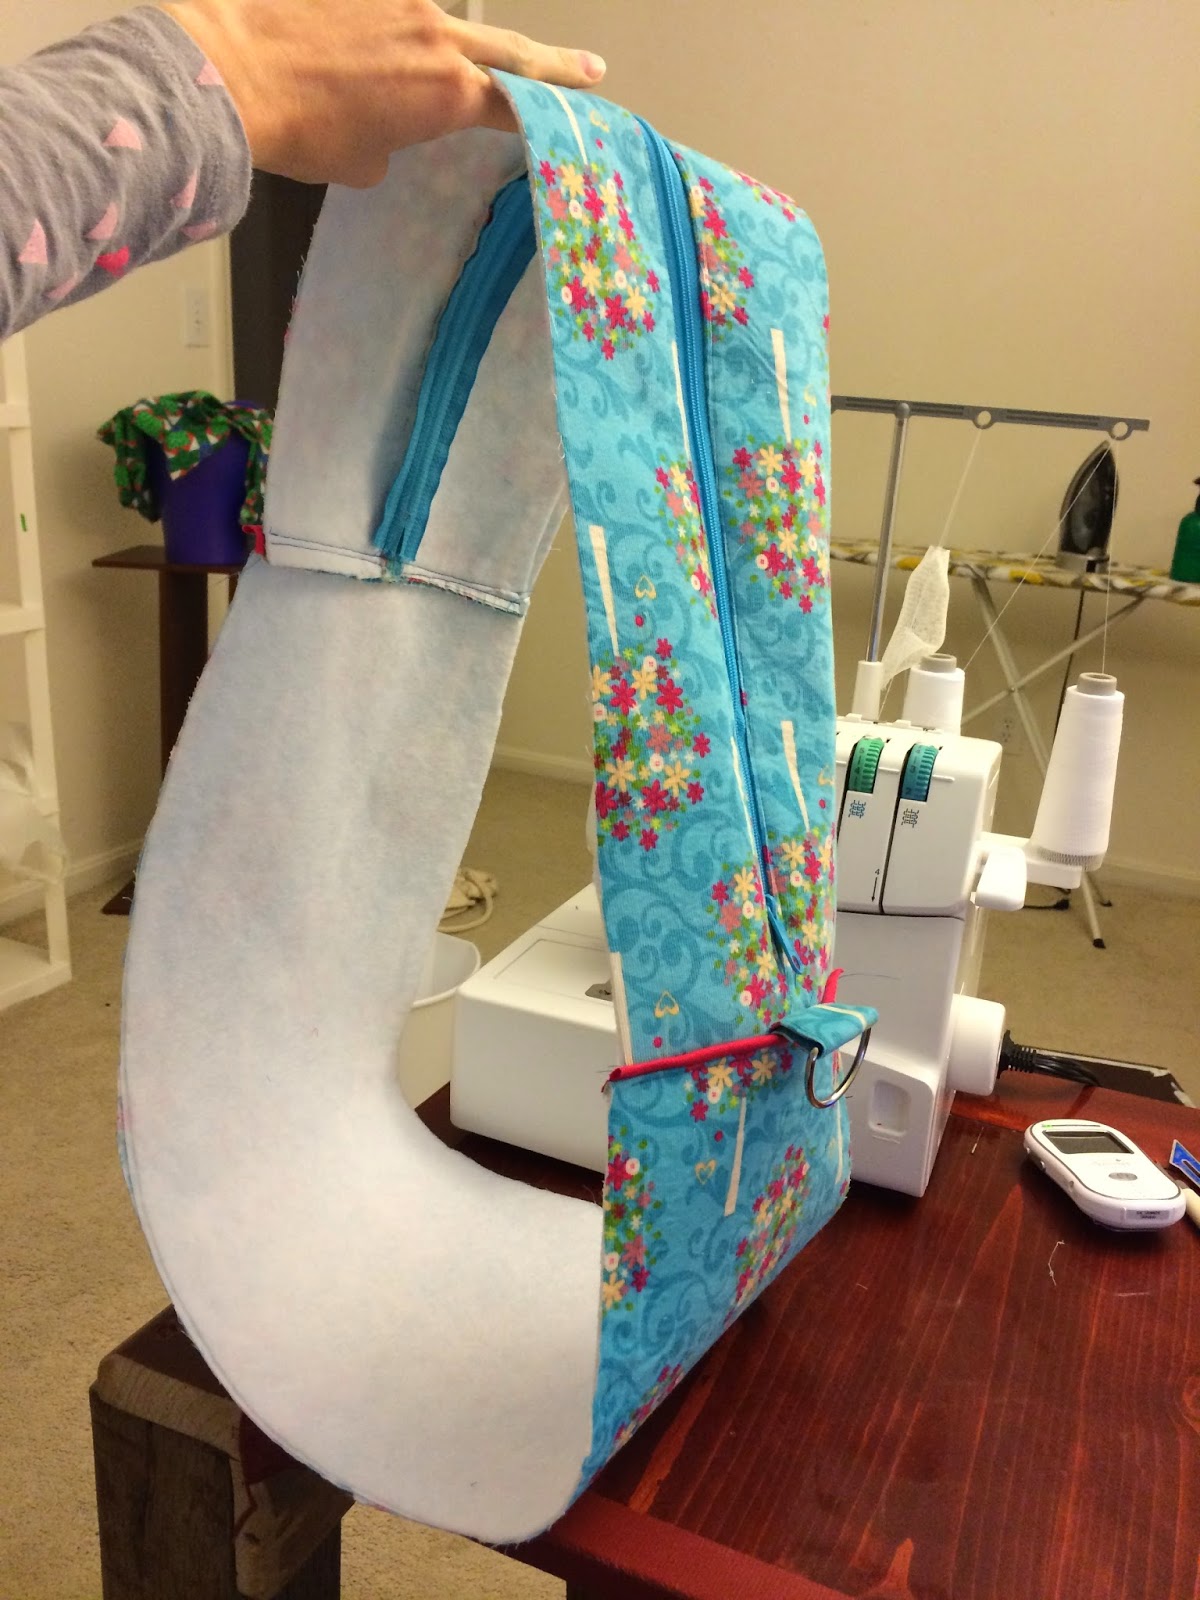
You now have a beautiful loop.
Find the exterior pocket pieces.
Take one exterior and one interior pieces.
Place the right sides together with the narrow end at the top.

Sew the top and bottom together with 1/2" seam allowance.
Trim the seams.

Turn right side out. Top stitch along the top (narrow part).
Repeat with the other pocket pieces. (unless you did them at the same time)
Repeat with the other pocket pieces. (unless you did them at the same time)

Place the pocket piece on the loop, aligning along the piping between the top and bottom panels.

Sew the pocket on the bottom panel. Sew down one side, along the bottom, and up the other side.
Don't sew the top of the pocket!

Ah ha! Repeat for the other side.

Fold the loop in half, matching the piping on each side.
This will give you 4 centers to mark: two on top and two on the bottom.

Take one exterior main panel. Fold in half, mark top and bottom centers on fold.

Pin the top center of your main panel to the top center of one side of the loop, right sides together.
To do this, I turn the loop wrong side out the. Place the main panel against the loop right sides together. Then pin the bottom centers together. Now pin around the rest of the main panel and loop.
You may have slack on one piece, that's ok. Ease the slack in but be sure to NOT shift the top and bottom centers. Your bag would be wonky. We don't like wonky bags.


Repeat for the other side of the loop and the other main panel.
Remember to keep your zipper open to make turning the back easy.

One more day! Tomorrow we will construct the interior and then attach the inside to the outside!
No comments:
Post a Comment