Today is all about the Cargo pockets!
Take the exterior large cargo pocket piece and fold in half matching short sides.

Hand press the seam.

Open the pocket piece. Measure down 1.75" from the top along the crease.
Mark.

Insert the female snap on the mark you created.
To insert snaps, I place the backing on the mark.

Take an Xacto knife and cut the two long slits on the circular piece.

Now take the female snap. On the right side of the fabric, insert the legs through the slits you cut.
On the wrong side of the fabric, slid the backing over the snap legs and fold the legs in.

Right sides together place the exterior and lining largo cargo pocket together. Pin on left, bottom, and right (the snap should be at the top).

Sew around the three sides with 1/4" seam allowance

Trim corners.

Turn right side out and press well.

Fold the top raw edges in 1/2" and press.

Top stitch top closed.

Fold the bottom towards lining 3/4". Press and unfold.

Fold both sides 3/4" in. Unfold.

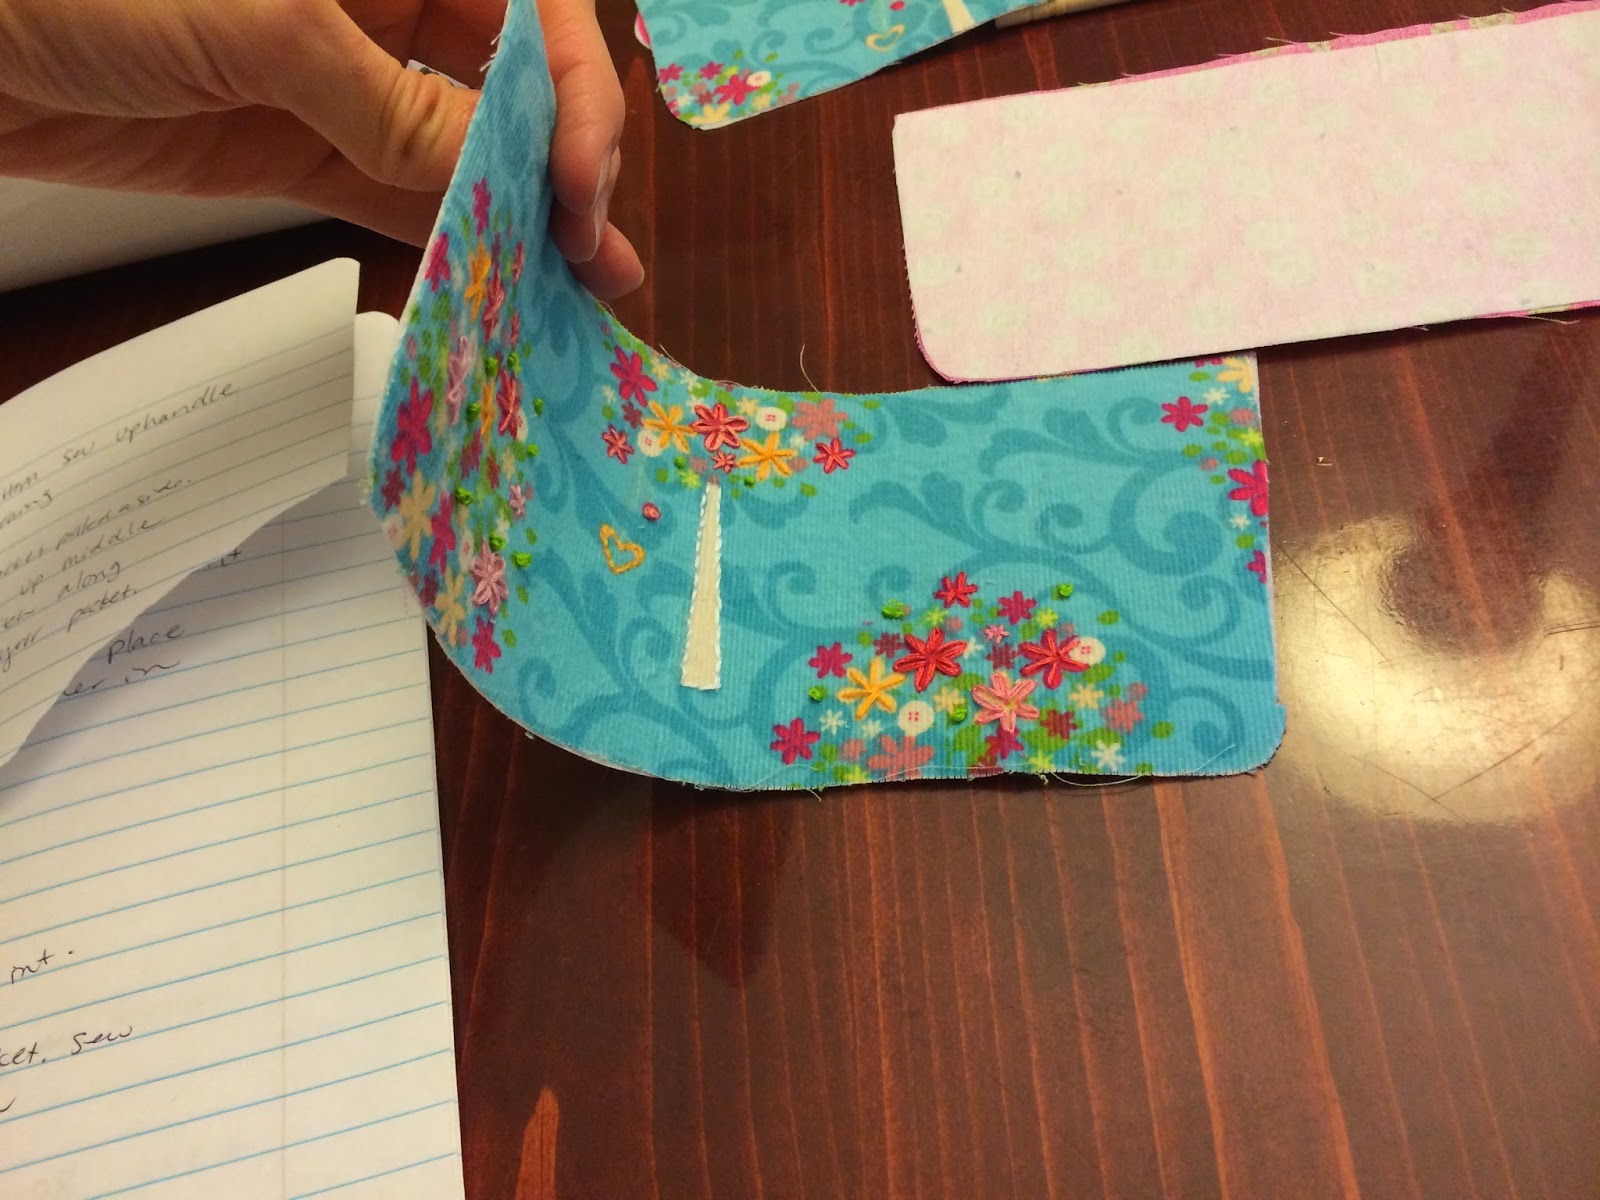
With exterior side up, take the top right corner and fold down until the side meets the bottom.
You will see a vertical crease on the bottom right corner. (where my poker is)

Stitch on along the crease. Trim the corner. Pull the corner open.

Repeat for the left side of the pocket. Fold top left corner to meet the bottom edge.
Stitch over the vertical crease and trim the corner.

Open the pocket.

Flip the pocket over to exterior side up. Fold under the right side. Make sure the bottom is open.

Top stitch along right crease until you meet the bottom. Stop and back stitch.

Open both sides and fold the bottom under.
Top stitch along bottom edge only.

Open bottom and fold left side under. Top stitch along left side only.

After top stitching the sides and bottom. Getting boxier!

What the lining side looks like.
Repeat all of the above steps for the small cargo pocket.

Attaching the cargo pockets to the main panel.
You need the zippered main panel and the two cargo pockets.

Pull the pocket out of the way. I like to pull it up and pin it to the top.
Each cargo pocket should be 1.75" from the bottom of the main panel and 3" from the sides.

Here's the trickiest part of the entire pattern (or at least I think).
Stitch the cargo pocket to the main panel along pocket edge
The poker is pointing to the edge. (This is NOT the edge you top stitched earlier)
I find it helpful to do one edge at a time.
A few tips for sewing the pocket.
-Make sure to not pull the edge out, flatting the pocket. You
want to keep it 3-D.
-Sewing the bottom first helps keep the pocket straight, then sew the sides.
-Go slow. Take a shot if necessary.
I sewed both pockets twice because they were crooked the first time.

Good enough.

Cargo Pocket Flaps
Take your LINING pocket flaps. Fold in half, matching short sides.
(Ignore that this picture is my exterior flap. I was THIS close to f-ing up royally.)
Insert the male snap 1.5" from the bottom (rounded edges) of the flap.
You can do your pocket flaps at the same time or separately.

Right sides together, pin the exterior and lining fabrics together.
Sew sides and bottom (leave top open) with 1/2" seam allowance.

Turn right side out. Press well. Fold top raw edges in 1/2".
Top stitch around entire flap.

Snap your flaps on. Make sure they line up well with the pocket and look nice.

Pretty good.

Unsnap and flip your pocket open. Pin the top of the flap (long edge farthest away from the snap)
1/2" from the top of the pocket.
Stitch along your top stitch line (where my finger is) and only along the top of the flap.
Repeat for the other flap.

Fold the flaps down. Stitch along the top of each flap again to secure.

You did it! Easier than pie from here on out.
No comments:
Post a Comment